The Backbox Design
The Backbox is the first thing you see…
## Display TestingDuring the initial design phase I did some testing of displays with The Mission Pinball Framework (MPF). They offer a few different interfaces with various combinations of fancy and reliability. I decided to go for reliability, and try something more fancy down the track if needed.
My initial design called for two screens (or DMDs), one serving to provide score information, the other to provide task / goal / status information. I worked out that I could do this with a single LCD emulating DMDs.
MPF-MC
I was pleased that MPF’s Media Controller (MC) has a simple ‘slide presentation’ scheme about it, so it would not take a lot of time to master. Nope. Besides appearing to have an object called “window” that holds and object called “window”, because that’s not confusing, a whole bunch of examples just didn’t work. This had something to do with events - and they didn’t work. I also didn’t have any sound, and some examples crashed when loaded.
Turns out, that despite the MPF people’s confidence in their Automated Testing, the version I downloaded was riddled with show-stopping bugs.
Now MPF is a vast and complex suite of software that does wonderful things, and costs nothing. Having it in the world as an option for pinball makers is fantastic. My issue isn’t that it’s hard to use (and it is), or that it’s hard to learn (and it is), but that it is presented as robust, reliable and easy; when in fact an individual machine can be made robust and reliable, but nothing about the journey is easy. I’ll talk more about this in another post.
Long story short - I decided to stick to 4 scores on the screen and leave it at that till the MPF people ironed out their problems - so no pictures.
So the initial design was to mount the LCD behind a backglass like this:

You Are Here
Out initial thinking about rule-sets had us thinking about a You Are Here style of indicator. This would take more screen real-estate, so a redesign gave us:
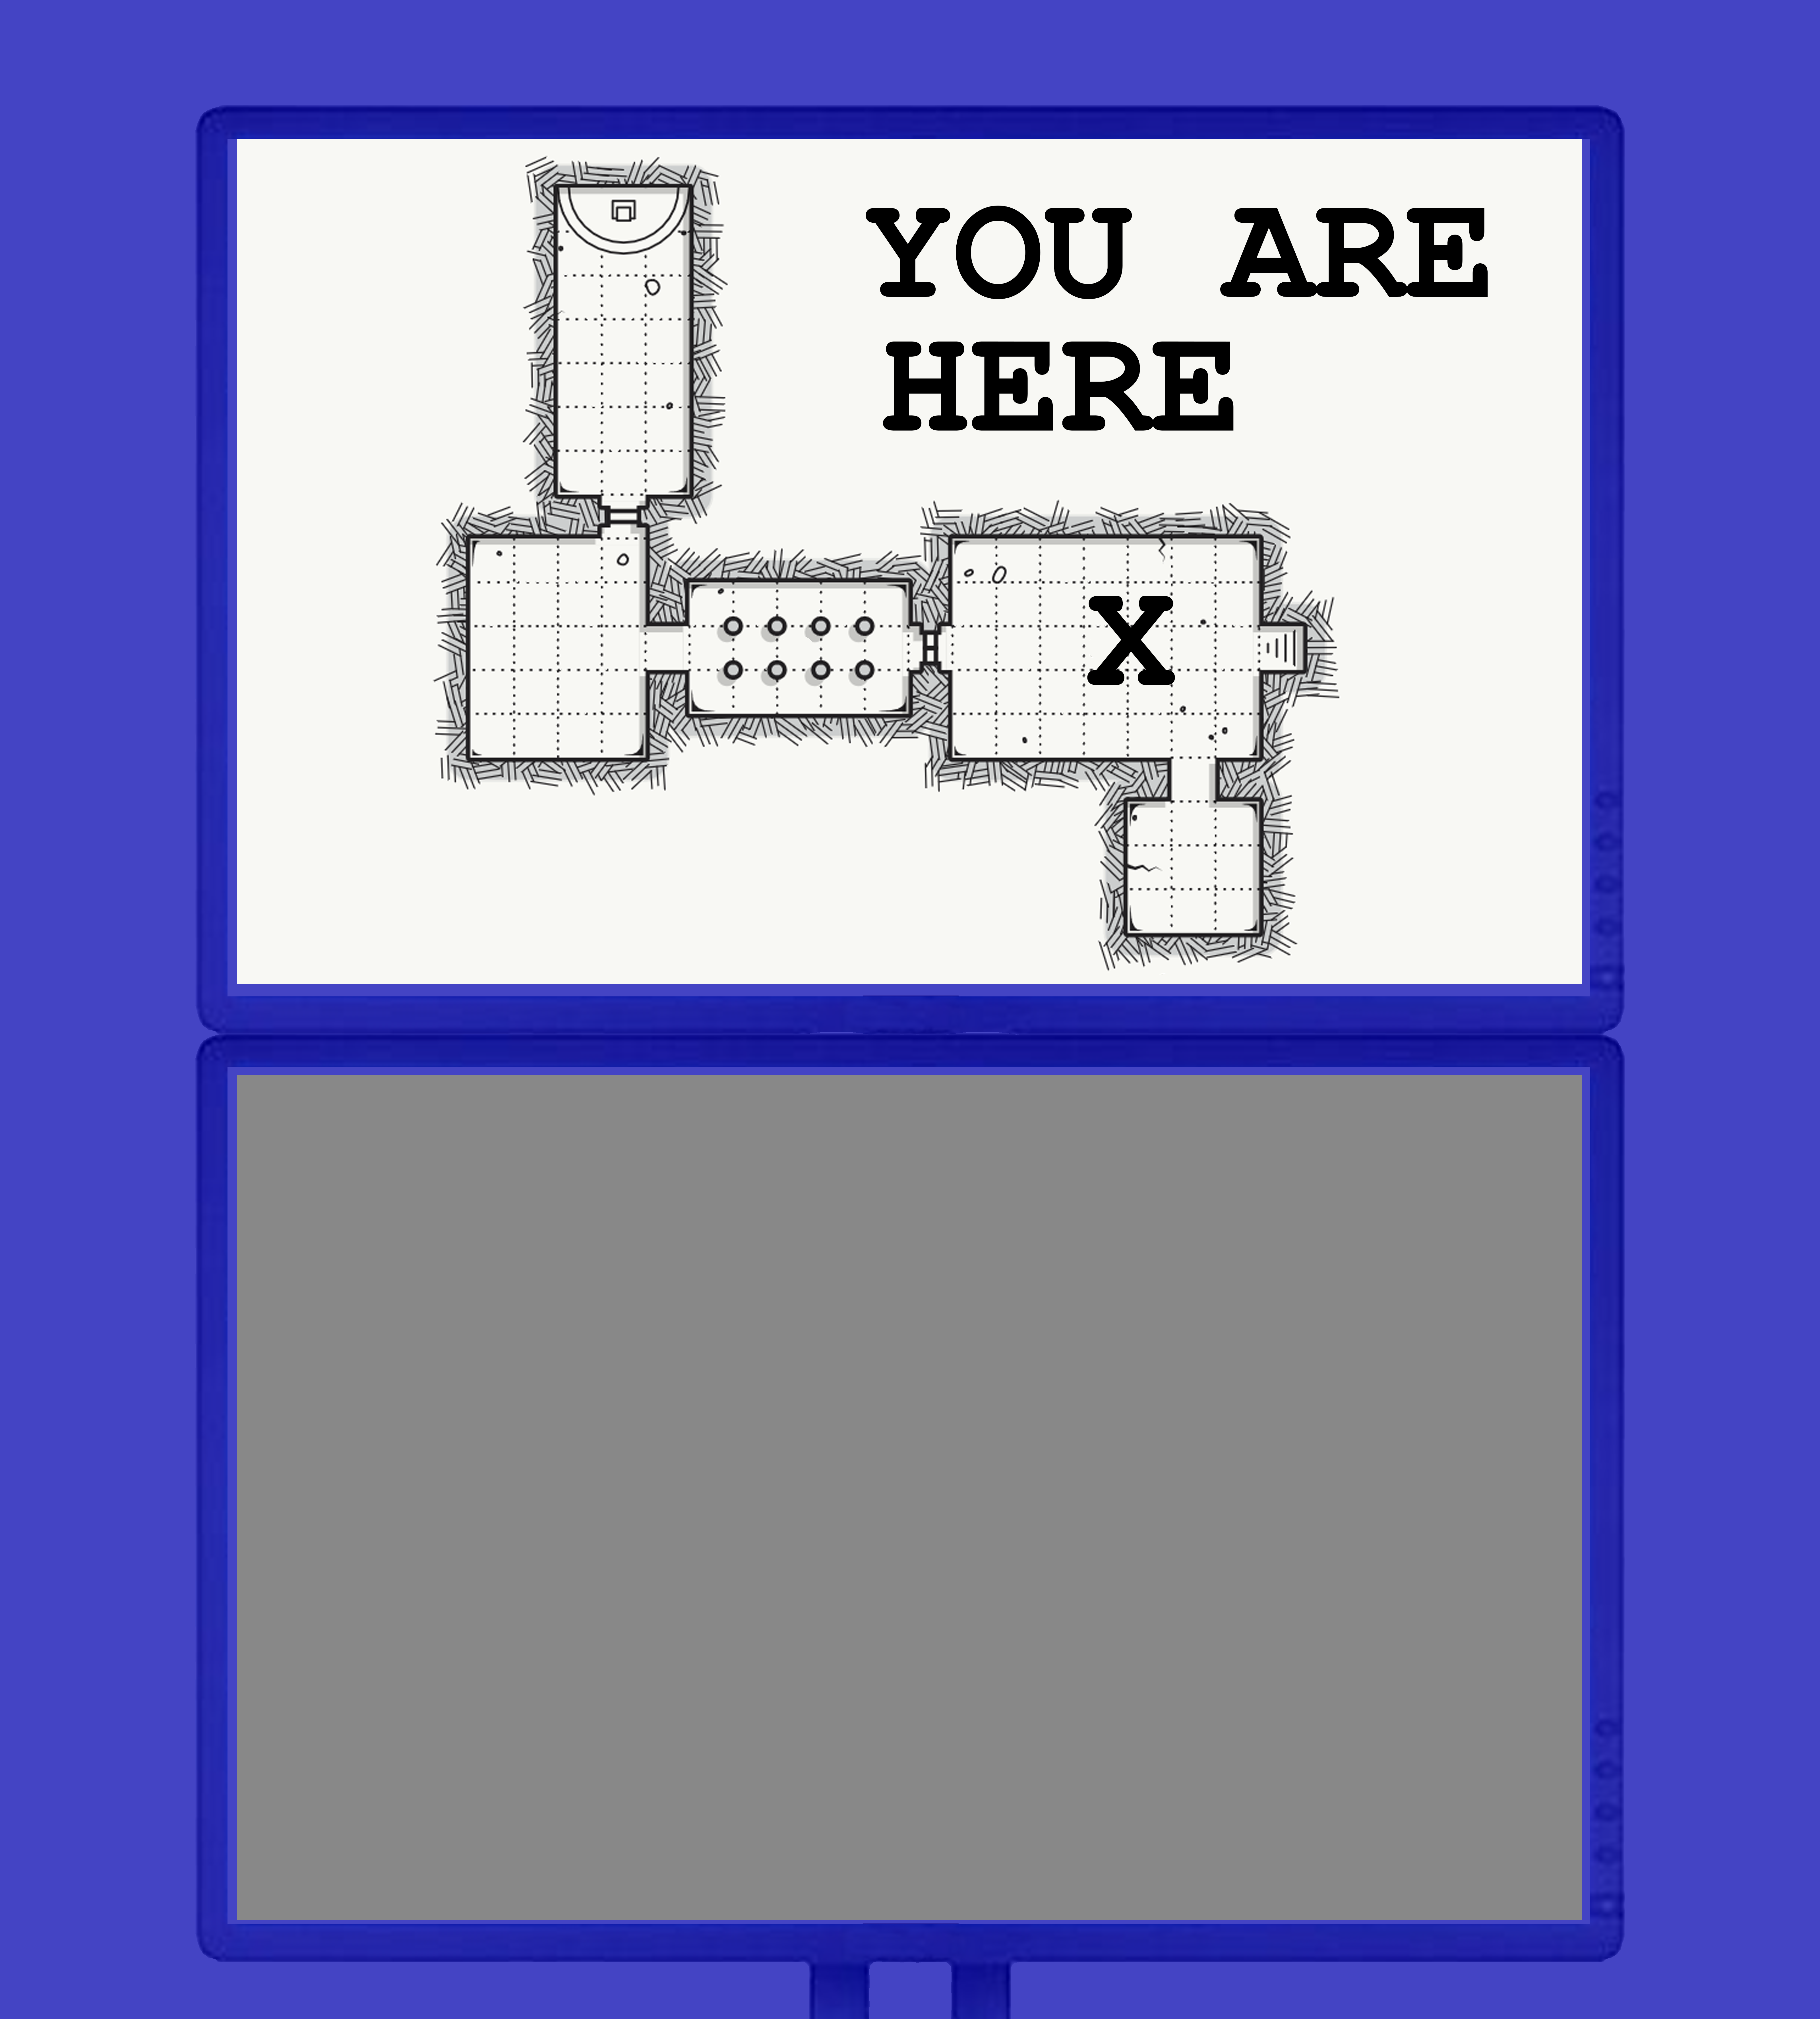
This would be quite nice for the game rules to tie in to.
However…
Translite Art
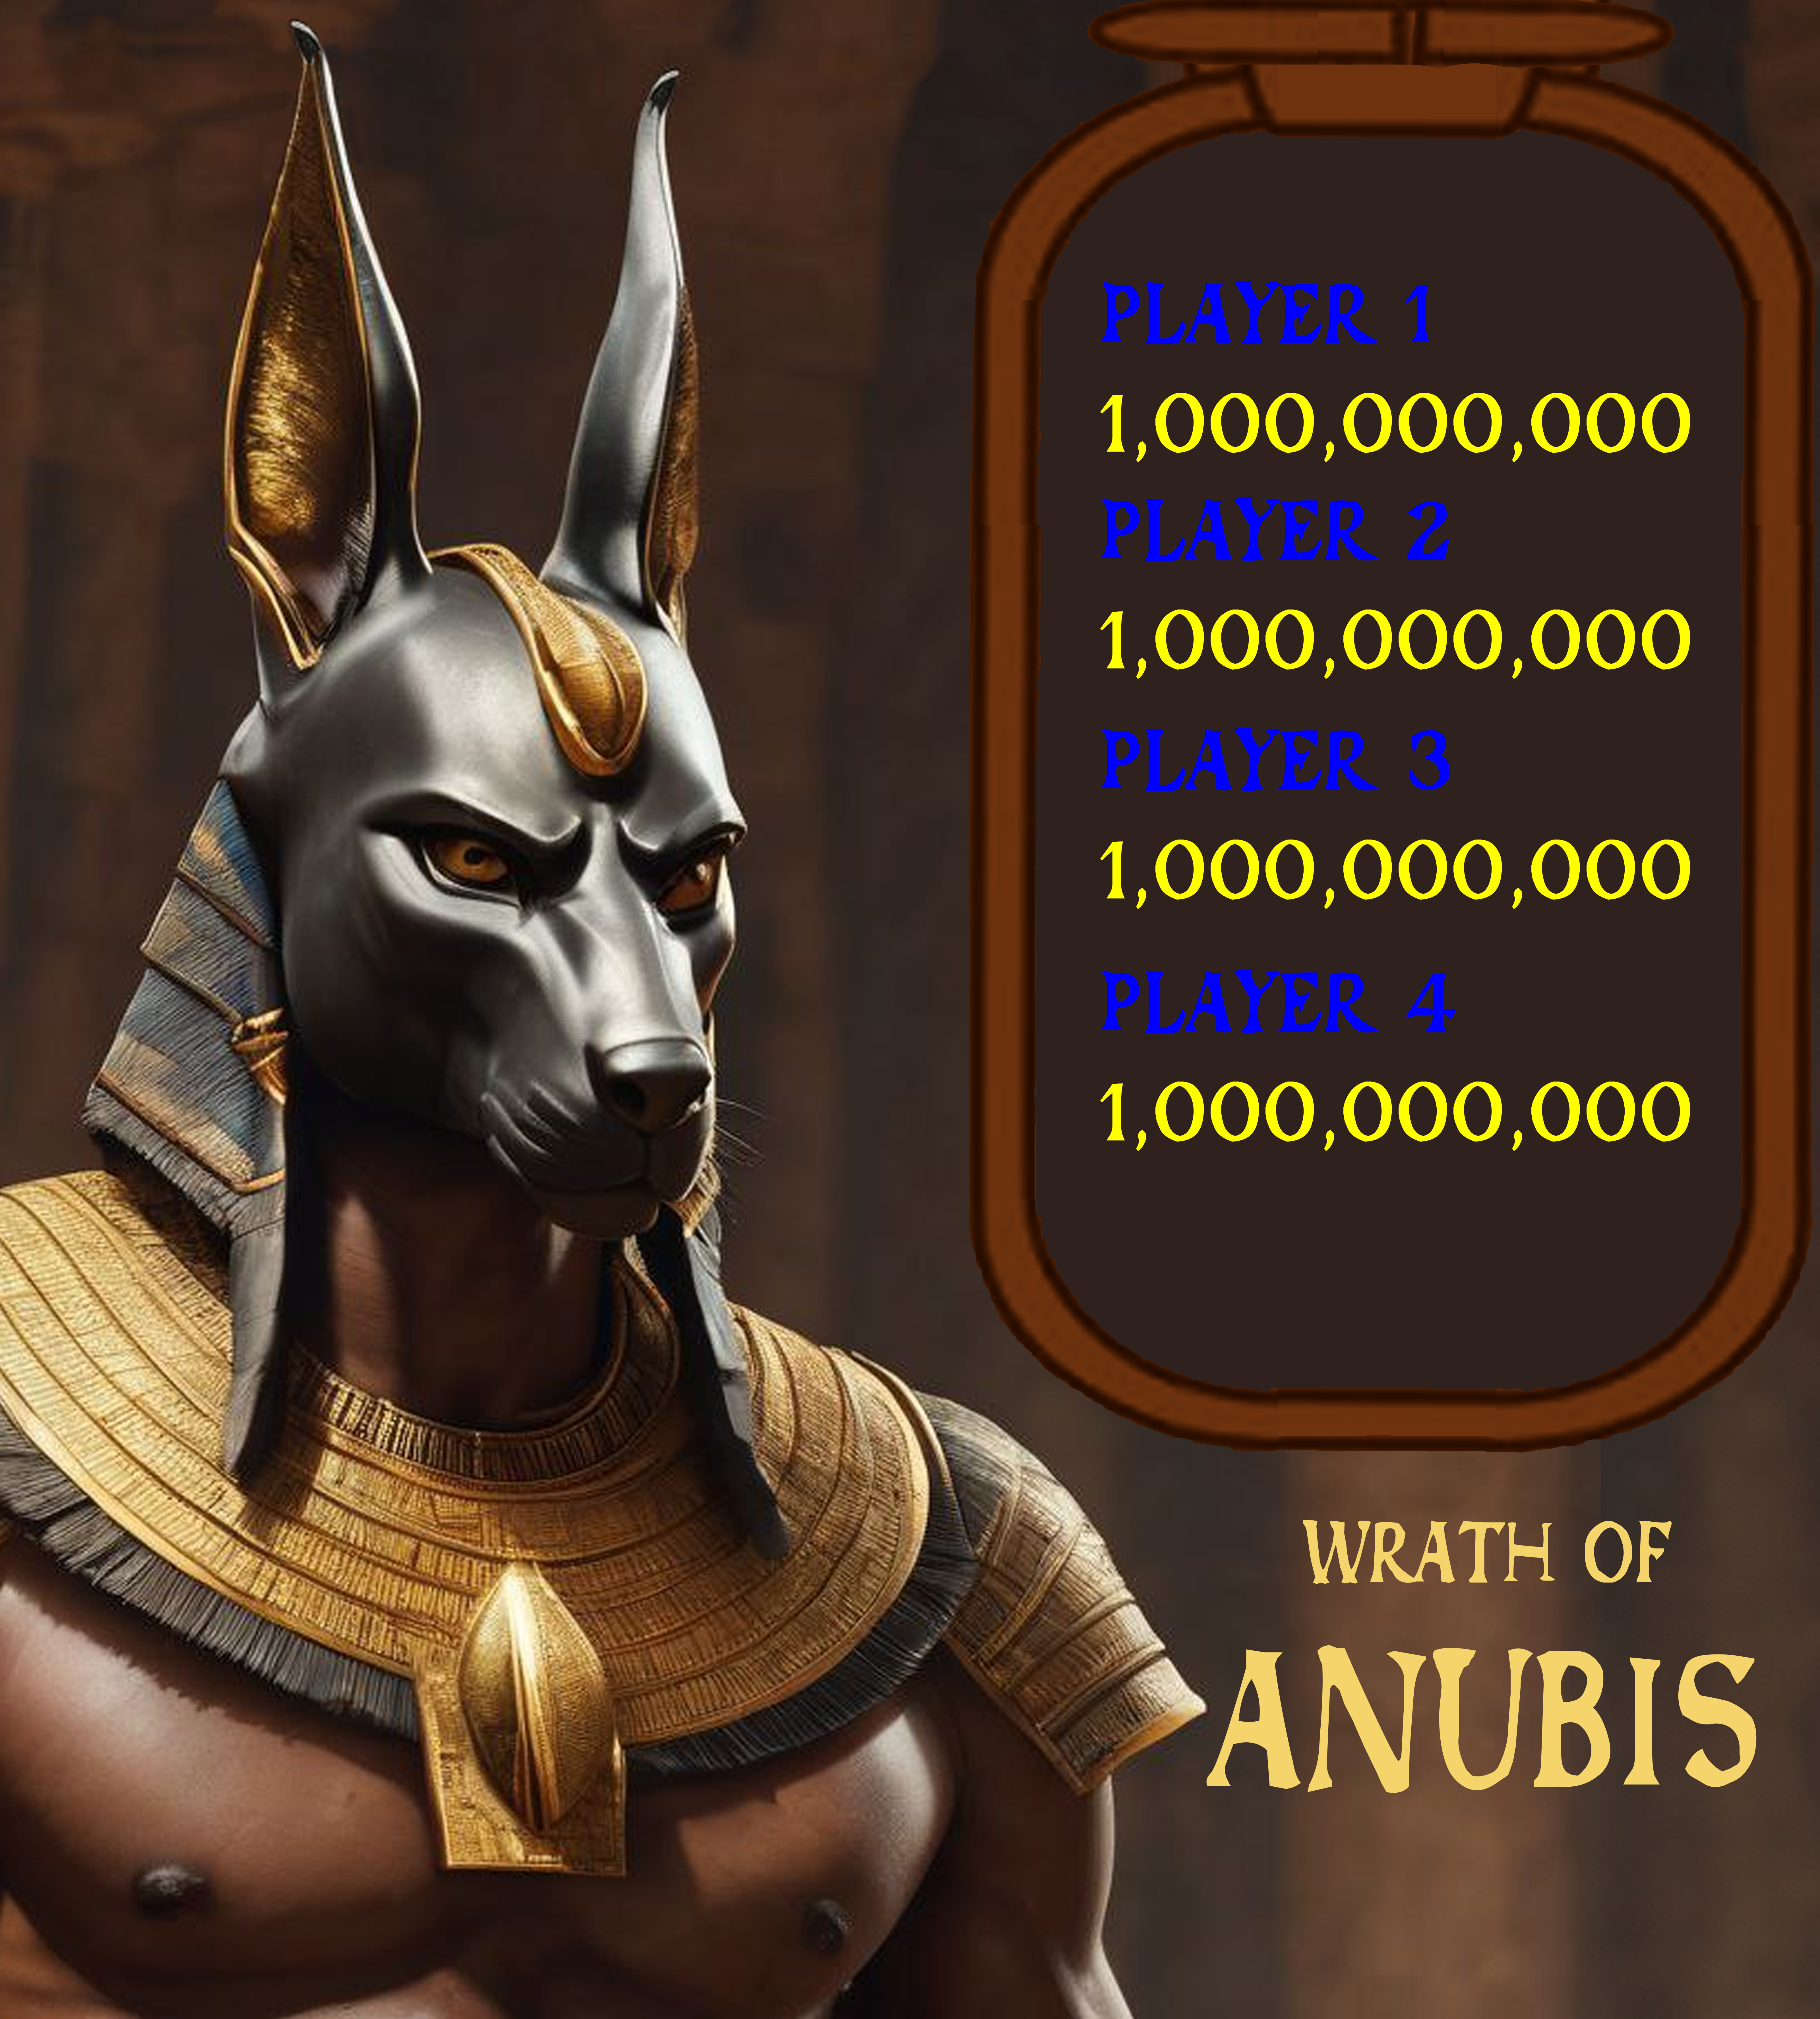
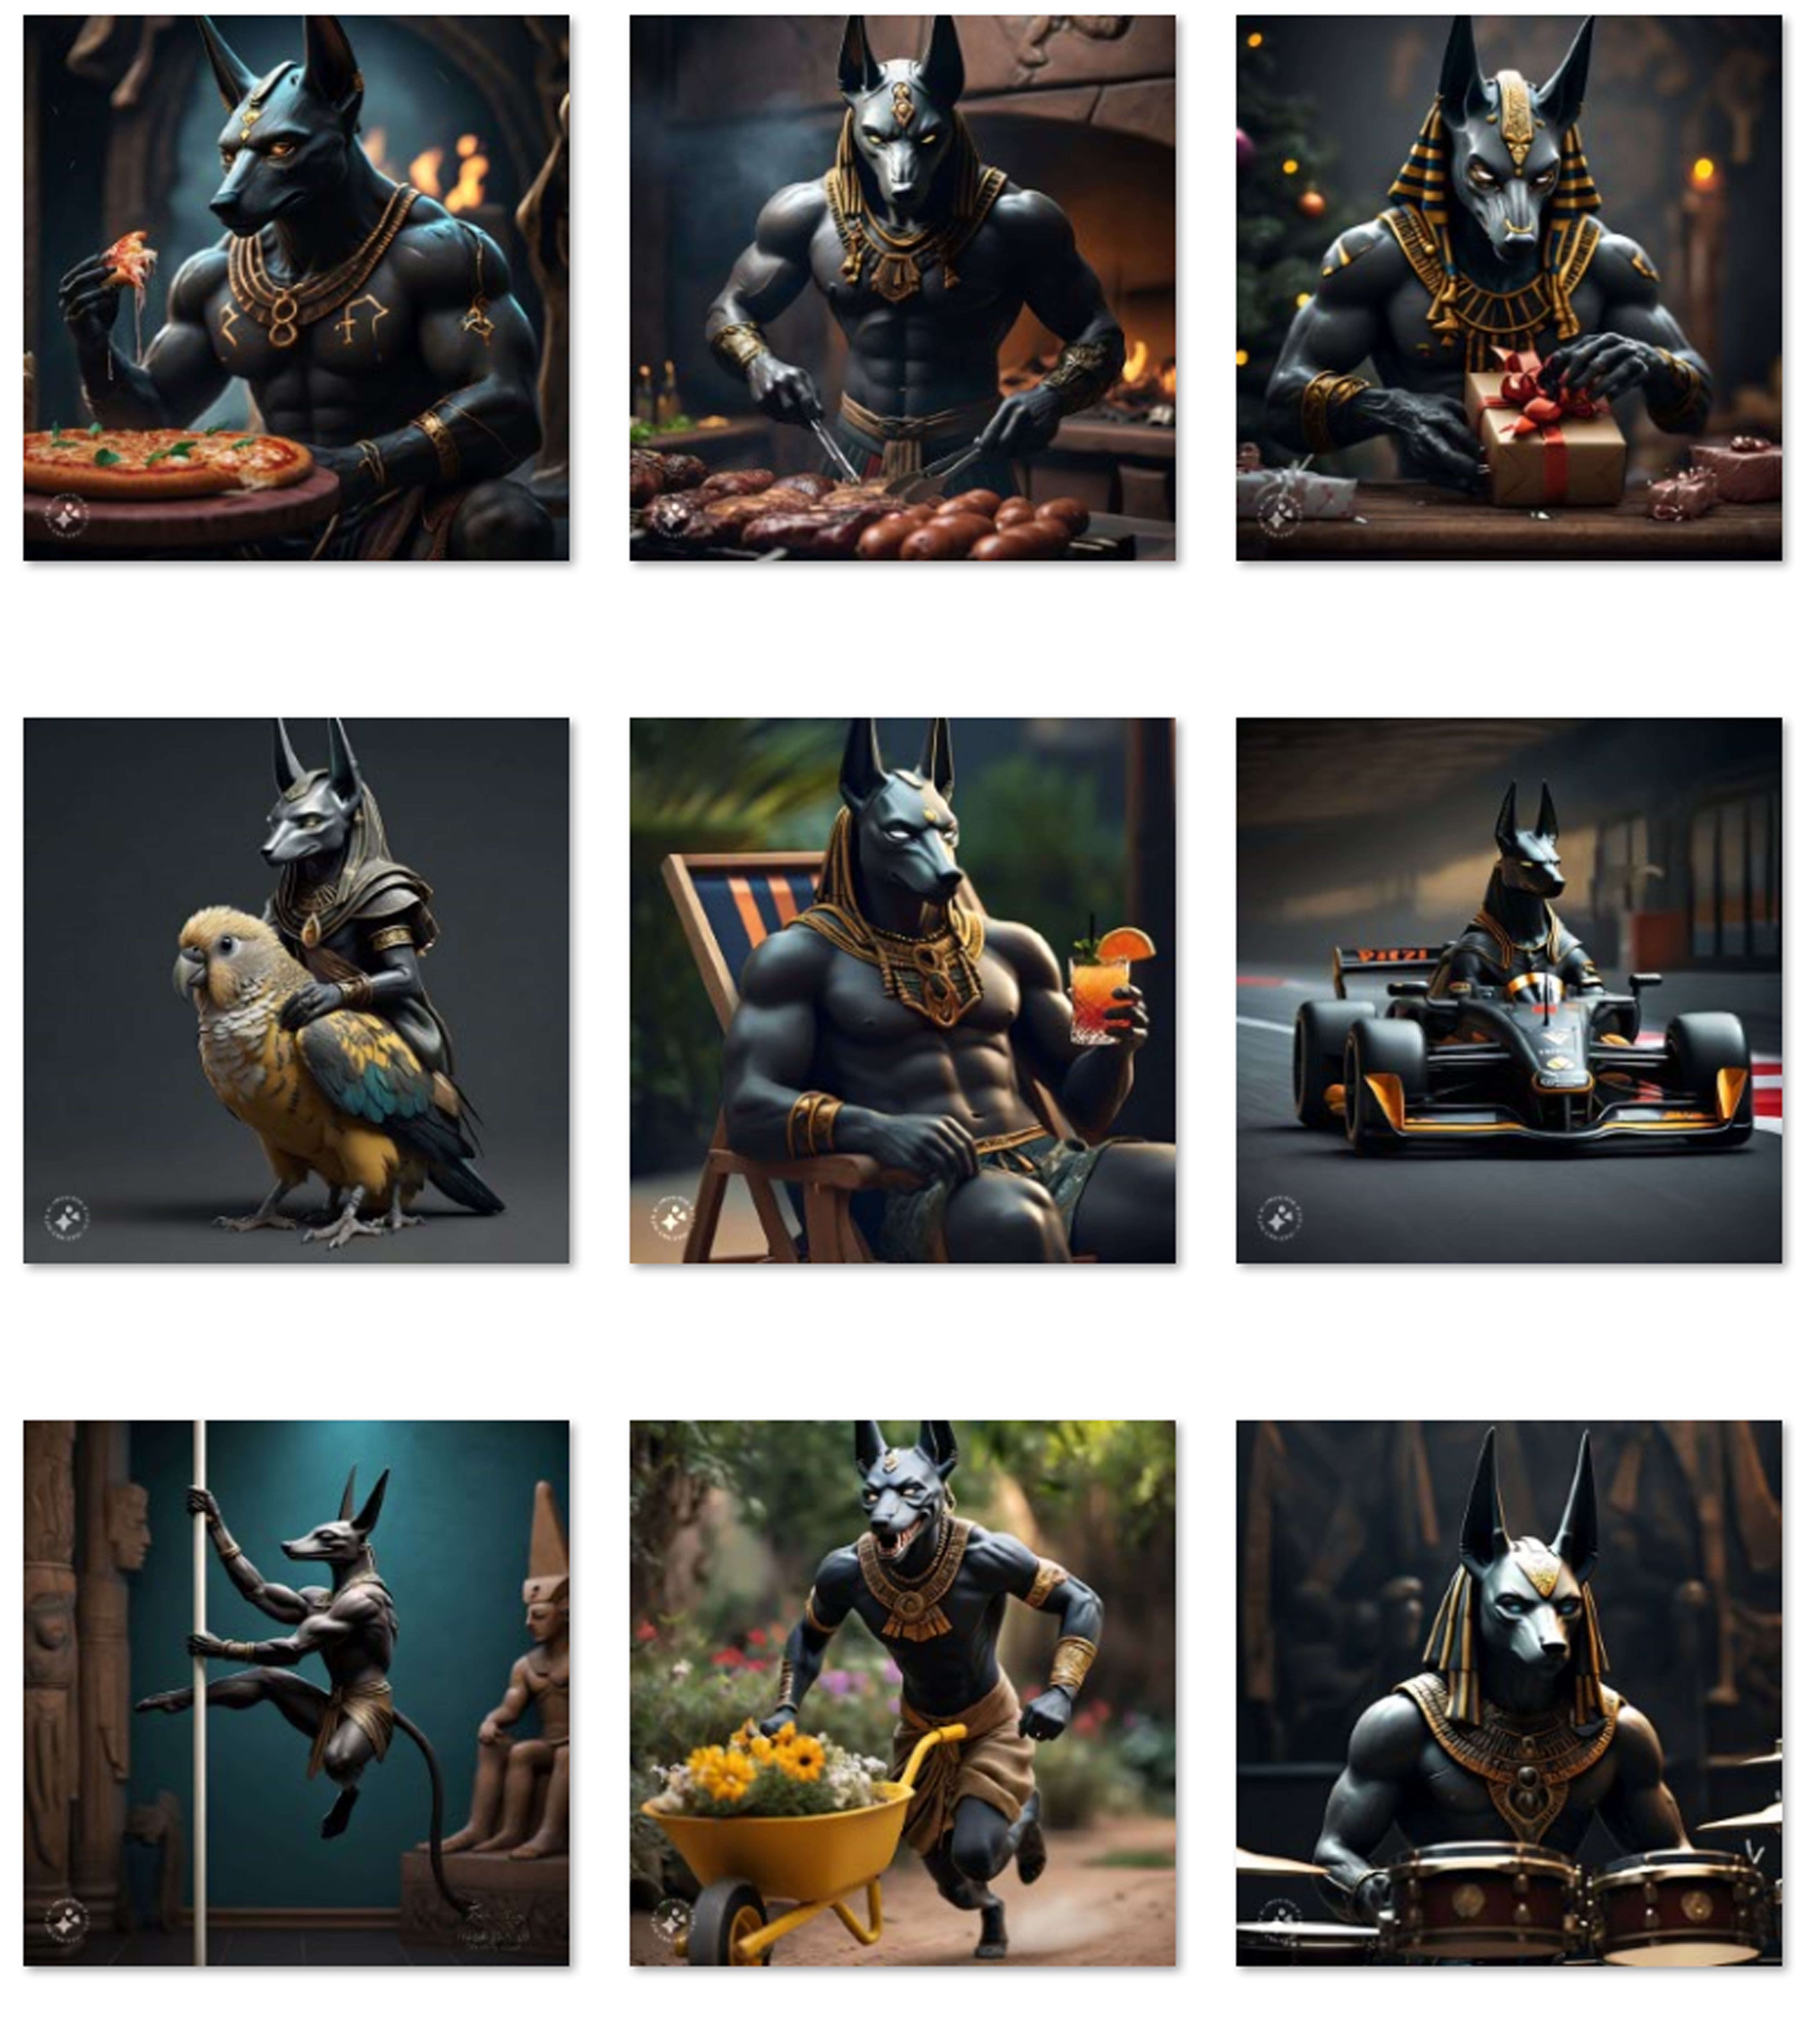
Discussion on the translite artwork revealed that we needed to accommodate a tall and imposing Anubis. This may have been in response to my less-than-serious-ai-generated-suggestions:
LCD Location
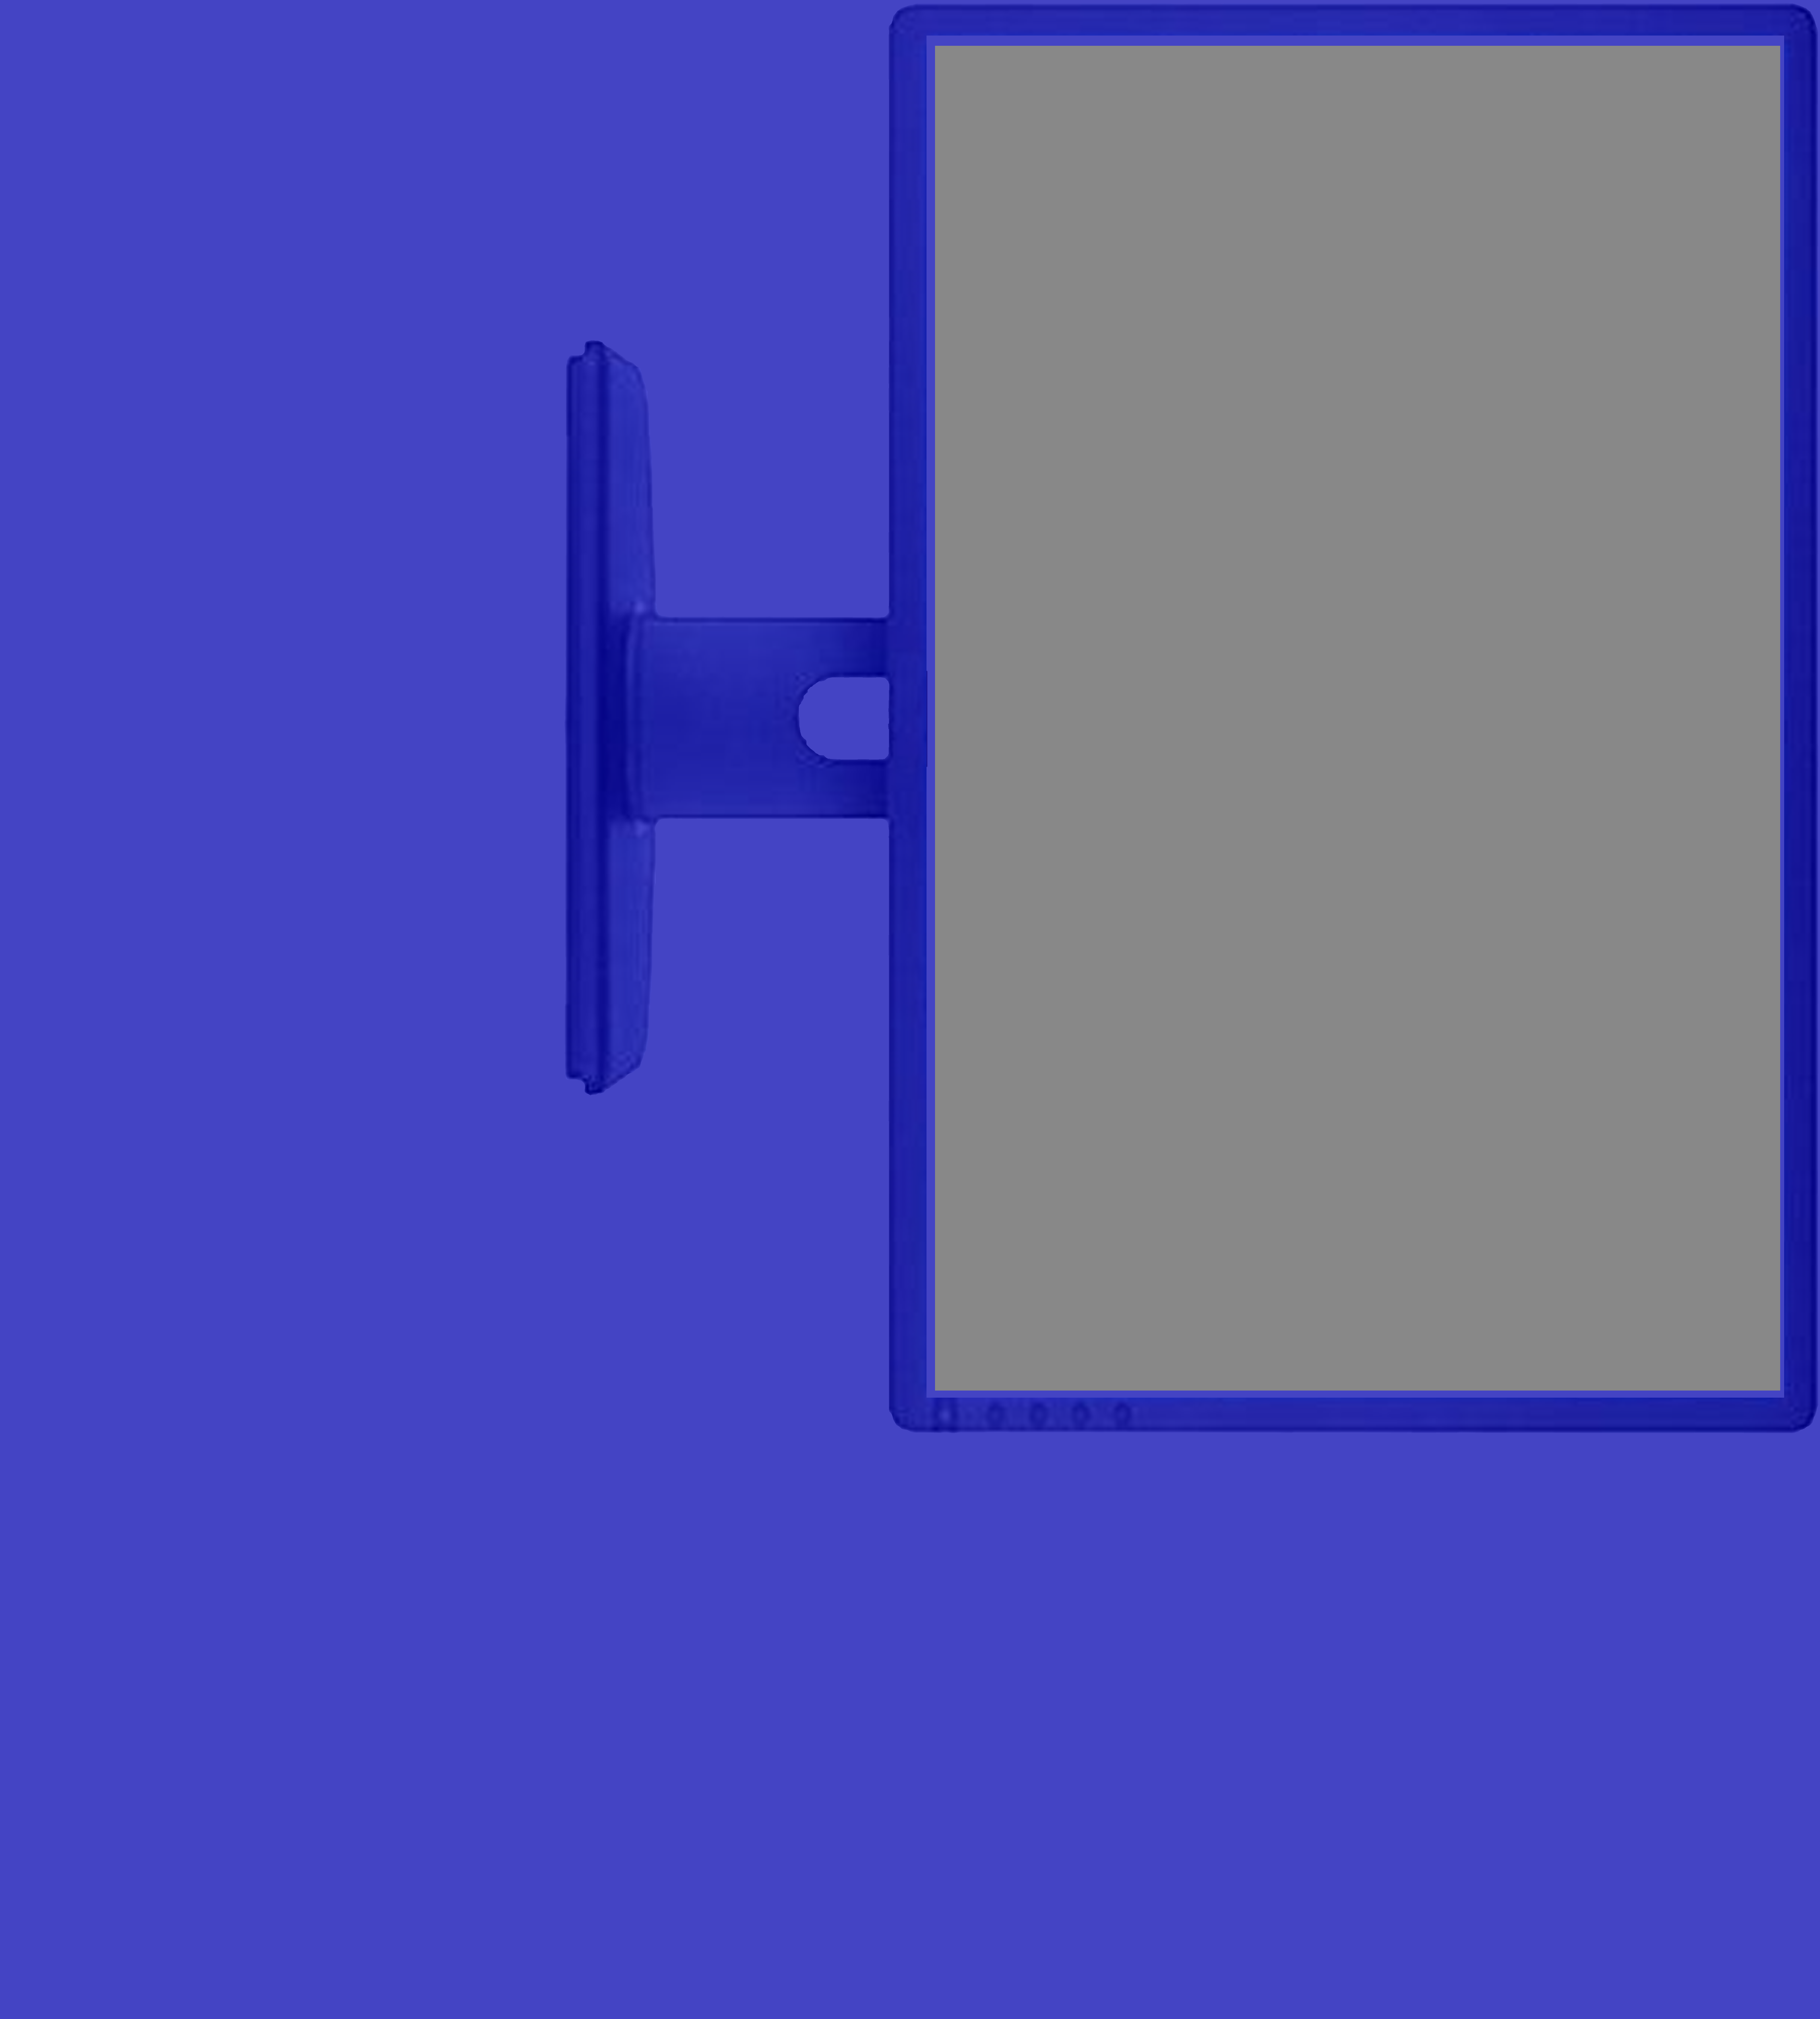
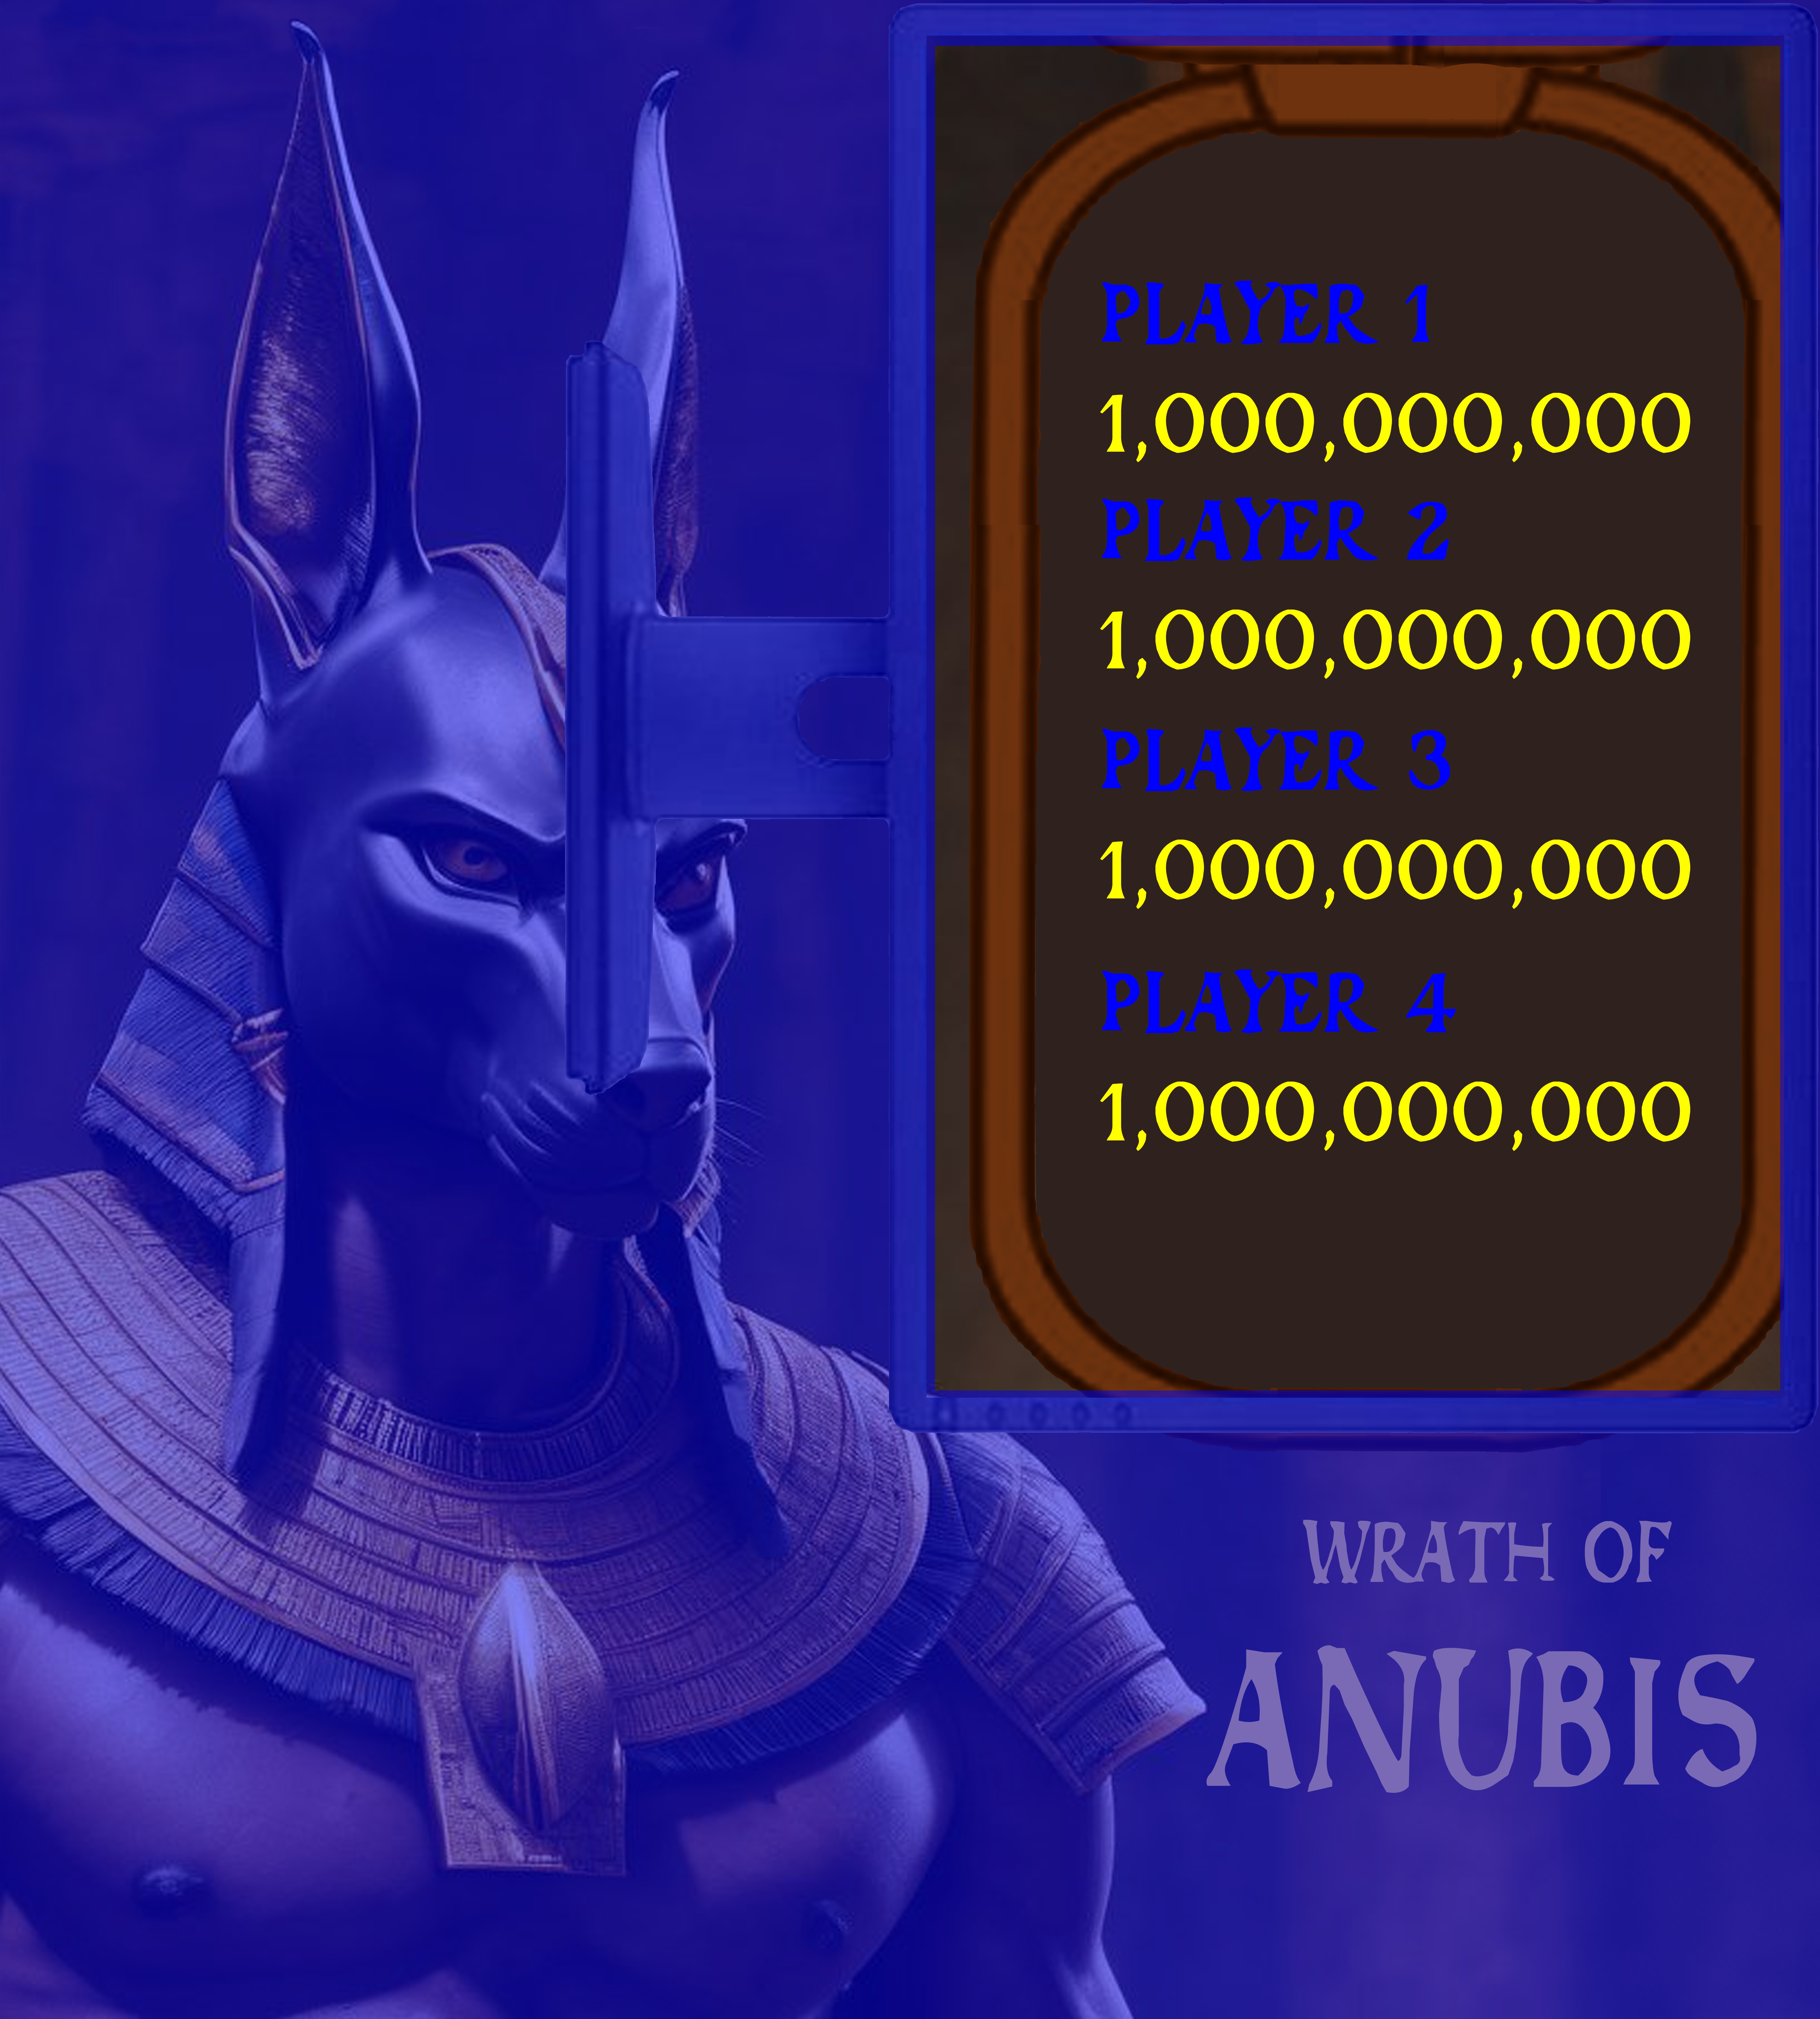
Locating a LCD screen in the upper right of the backbox would allow for :
- Generous score and status display.
- A tall and imposing Anubis.
- Something else I can’t remember. (Remembered!) The LCD won’t impact on the translite LEDs.
Final Anubis Image
The actual image we use will vary as we sort out the colour-way for the machine. The one we have now is a place-holder, the final image may be similar, or entirely different 😎.
Assessment Of Backbox Design Against Overarching Goals
A Read [Overarching Goals]({{< ref “philosophy/#overarching-goals” >}}). B goals-for-final-build C TEST Goals for Final Build
TEST2 #goals-for-final-build
TEST3 GOAT
TEST 4 goals_for_final_build D
| Goal | Description | Contribution |
|---|---|---|
| 1. | Be fun to build | Designing the artwork for Anubis was a great deal of fun. Working out how to provide displays was a challenge |
| 2. | Be capable of mass production | Traditional printed translite |
| 3. | Follow the 3 Rs | The monitor(s) are all repurposed |
| 4. | Economy, reduce component cost | ~ |
Assessment Of Backbox Against Goals For Final Build
Read [Goals For Final Build]({{< ref “philosophy/#goals-for-final-build” >}}).
| Goal | Description | Contribution |
|---|---|---|
| 1. | Play like a real machine and also be fun to play | The size of Anubis gives an intimidating presence |
| 2. | Look attractive and unique | Anubis is very attractive, and he knows it! |
| 3. | Be simple to play and have objectives that are always clear | There is sufficient display area for clear user messages |

